$0.00
Uncle John’s Pirogue Kit and Plan Review

 Dad died in October 2007. Shortly before his death I wanted to spend more time with the old man. He wasn’t sick or anything. It was life. Things get busy and we neglect our loved ones.
He spent most of the last 20 years of his life building a nice woodworking shop. Building a canoe or some kind of small boat with the tools he had collected would have been a great way to spend time, but how do you build a canoe?
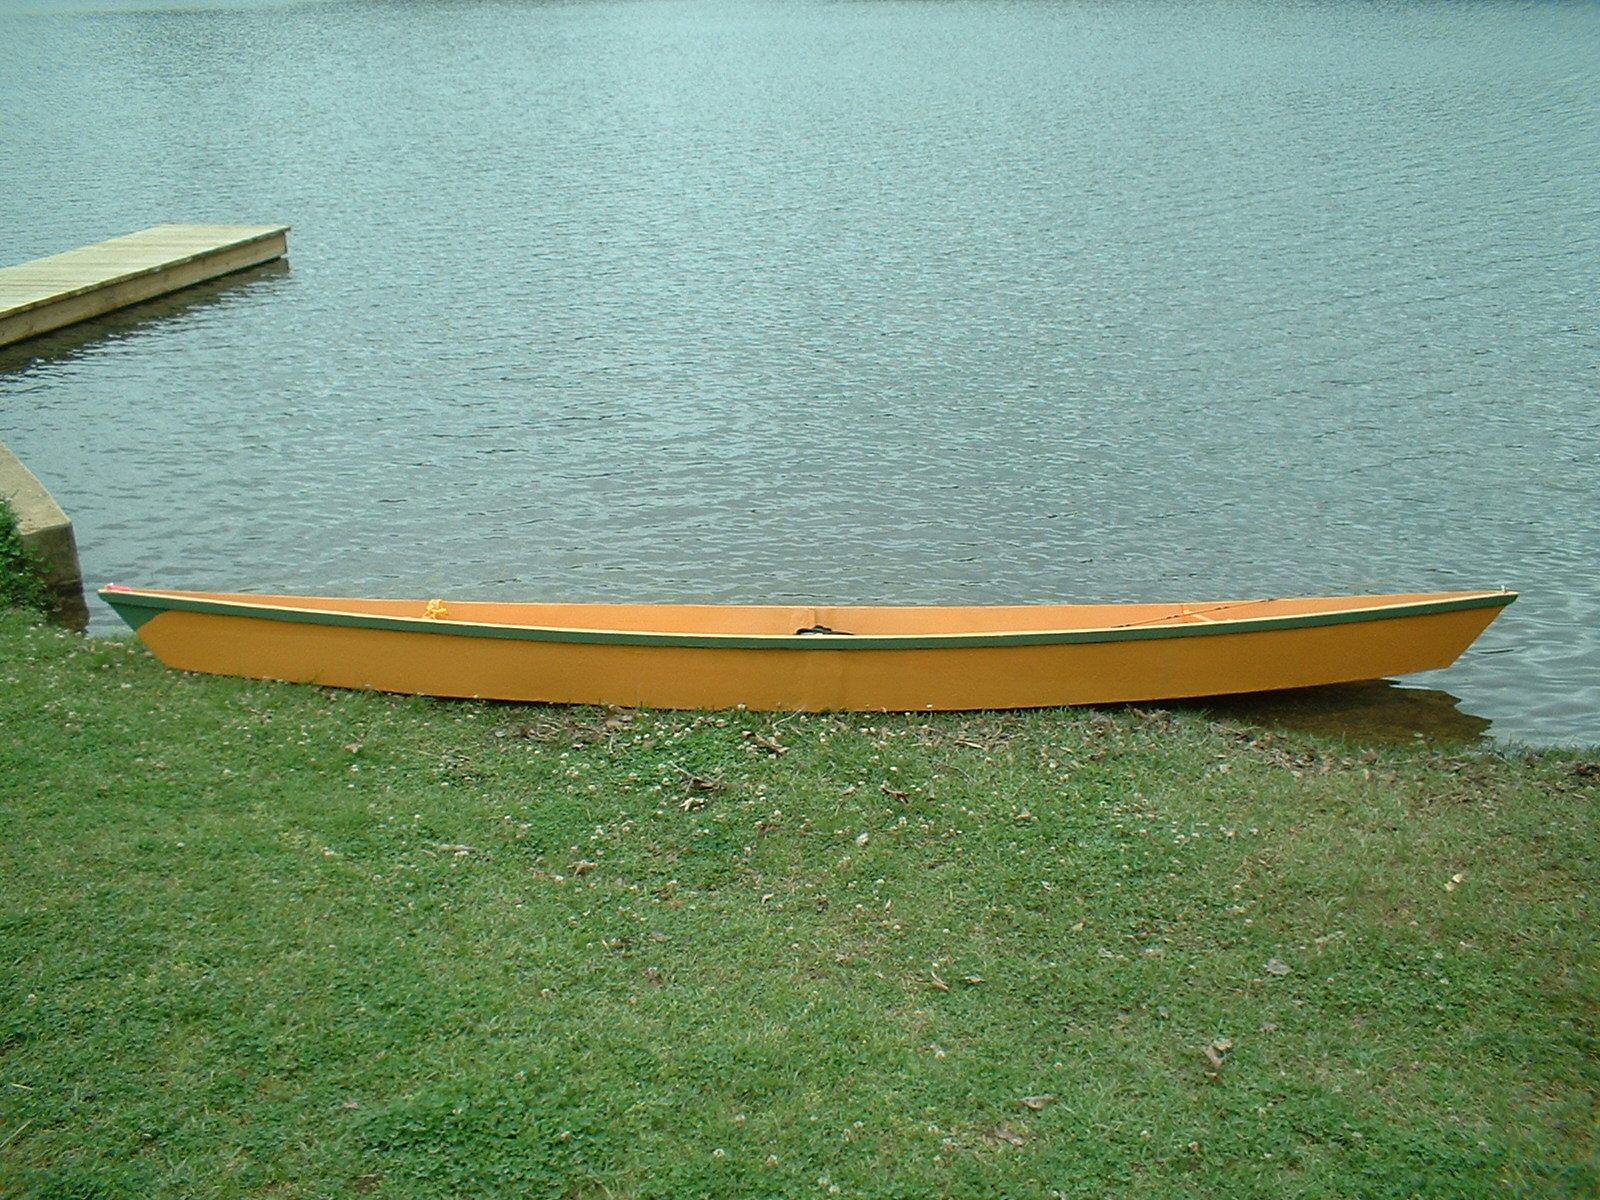
I found a Web site called Uncle John’s General Store. The Louisiana-based company sells plans and kits for building skiffs, jon boats and pirogues. I had never heard of a pirogue. It’s sort of a swamp canoe/kayak, flat bottomed with little freeboard. Perfect for swamps and small waters.
I ordered a set of plans and a kit containing the support ribs and stems already cut, beveled and milled, a nice piece of kit. Unfortunately dad died a week after I received the kit. He died doing the thing he loved: fishing.
Although a big blow personally, it proved advantageous professionally. For the first time I had to do something on my own without dad’s help, a rite of passage. Dad left all his tools to me. He didn’t want mom to get rid of them. It was time to use them.
While the kit supplied the difficult-to-make components, you had to supply your own plywood, epoxy and fiberglass tape/cloth. The design was composite: wood for the shape, fiberglass and epoxy for strength, although plywood is strong in an of itself.
Composite designs give the builders many options: minimal fiberglass and epoxy to keep costs down or encase the entire boat in fiberglass and epoxy to last 100 years or more.
I compromised: covered the outside in fiberglass and epoxy, only coated the inside with reinforcing strips of fiberglass and epoxy.
The plans don’t require lofting: a long process by which you draw full-scale parts from a system of coordinates. Two 45 degree cuts for the stems, cuts to the width of the side panels, and cut the bottom to shape was all. The most difficult part was scarfing the joints. This pirogue ended up 15 feet 11 inches long. Well, plywood only comes in eight foot sheets. You have to connect them somehow.
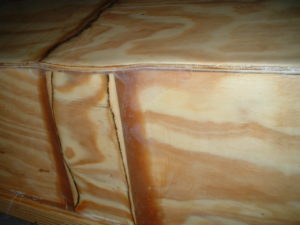
Scarfing involves sanding or cutting the edge of the plywood at a long, shallow angle so the pieces fit together flush. This makes two pieces into one. The joint becomes stronger than the wood.
Once scarfed and cut to length, you connect the side panels to the stems in the kit. This point requires a little help from friends and family. Plywood doesn’t want to bend much, yet this boat has a good bit of flare. Flare is the banana-like shape given to many boats. It helps them turn easier on the water, more maneuverable.
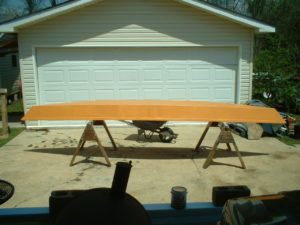
Once the stems are in place, be careful because the boat is fragile at this point. It’s best to build a set of low-boy saw horses to make work easier.
Once set on the low-boys, place the ribs and temporarily screw them in place. Once set secure these with a mixture of epoxy and wood flour. After curing you can either remove the temporary screws or leave them in. I recommend leaving them. If the epoxied joint fails the screws will hold.
The bottom: The 16 foot scarfed sheet of plywood is placed on the boat’s bottom and cut to shape then secured to the bottom of the boat like the support ribs.
Fiberglassing the outside of the boat comes next, then the inside after that. Cheap exterior house paint works best. You can get any color and draw any shape or pattern you like. Duck hunters can use these as hunting blinds, painting them camouflage.
Ratings:
Value-for-Price | 5 stars
Epoxy and wood prices have risen. The great thing is you don’t have to use marine grade plywood. 5mm lauan from Lowes or Home Depot works! I used 1/4 inch B/C grade plywood from Marvin’s Building Materials. Buy economy-grade epoxy to help save.
Reliability | 5 stars
The design is a simple design meant for small waters and swamps. This is not an open water or river rapid craft. I had the boat out on a windy day with lots of current, boat traffic and waves. Once I got back to the boat dock I had not realized how much water I had taken on. Be safe and don’t go out in elements beyond the capabilities of the boat.
The flat-bottom design means it has good initial stability, but is hard to stand up in. Again flat-bottomed boat are easy to build.
Quality | 4.75 stars
The kit had milled parts with a smooth, clean surface. The design itself is easy to put together, but most days I could not stay in the boat more than two hours as my hip and back would pain and the groin would go numb. This is not a flaw of the design.
The plans were easy to read and understand. I would advise you to buy a boat building for beginners book or talk join their forums because certain things cannot be covered in concise instructions. Sometimes it’s better to learn from people who have done it.
Referability | 5 stars
Anyone building a boat for the first time without having a degree in naval architecture, this is a good way to go.
Good times, tight lines!
Damon
P.S., Visit Uncle John’s General Store.


